 Image: Thirdman / Pexels
How to choose your first telescope
If you are buying your first telescope, the best choice is usually the one you will use often. A large tube on a shaky mount can be more frustrating than a smaller instrument that sets up in minutes and stays steady at the eyepiece. For a beginner with a small budget, the main decision is usually between a modest telescope, a good pair of binoculars, or waiting and saving for a better setup.
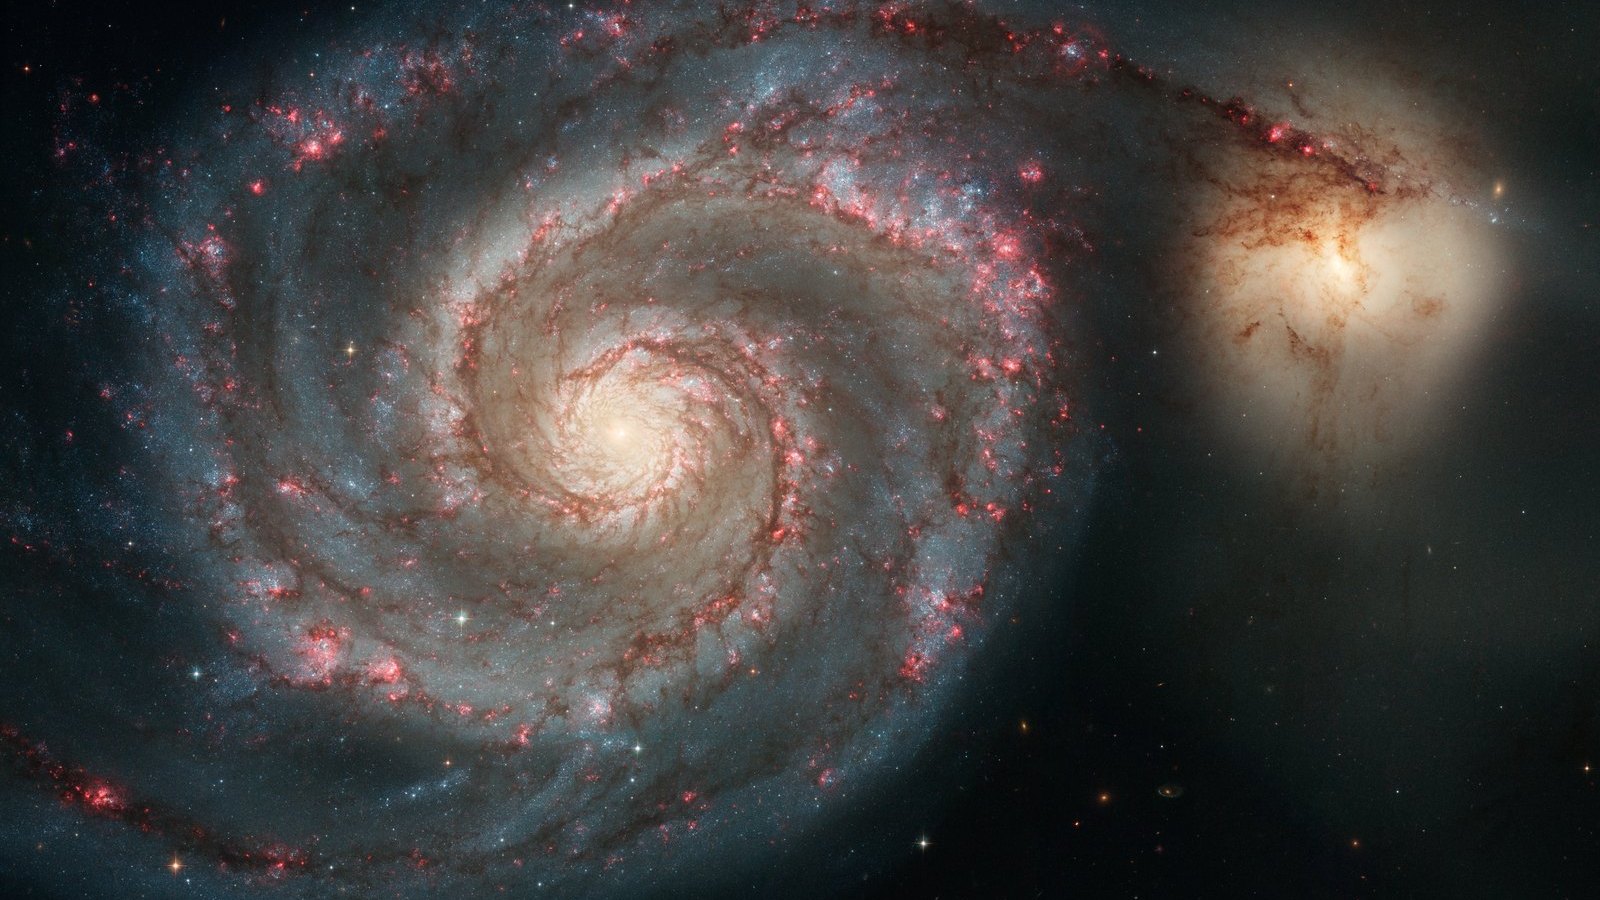
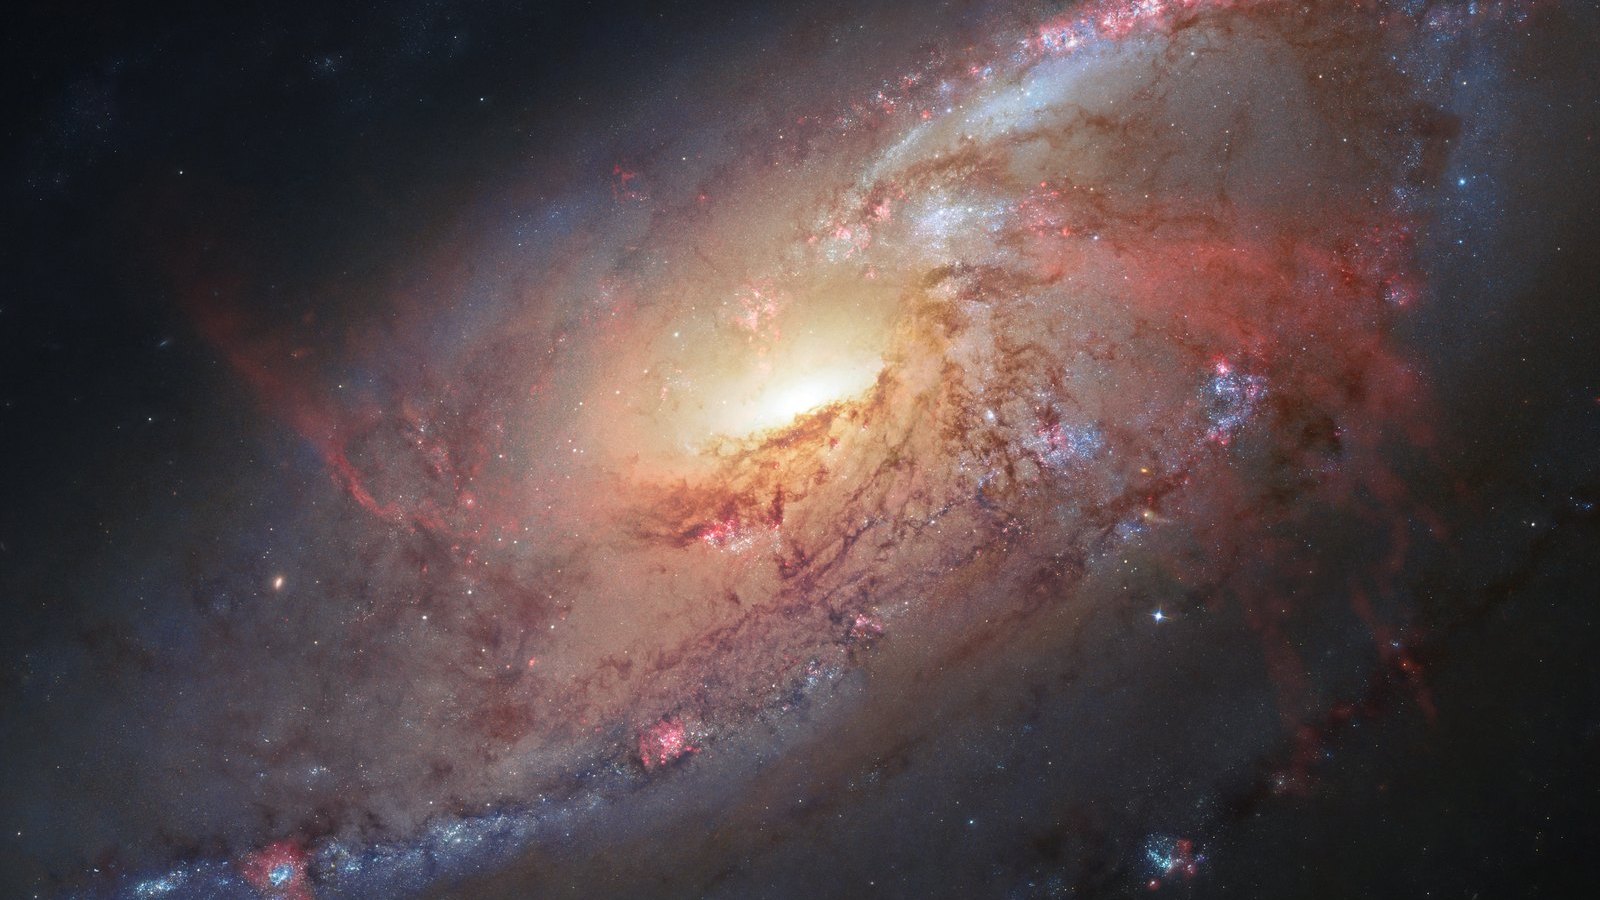
The first rule is simple. Buy for the sky you can reach, not for magazine photos. A telescope shows the Moon, planets, star clusters, and some bright nebulae well from a backyard or a balcony. It will not show colour images like spacecraft or observatory photos. Those images are built from long exposures and image processing. Visual observing is different, and that is part of its appeal.
Aperture and what it really does
Aperture is the diameter of the main light gathering opening. In a telescope, that is the mirror or lens. It controls how much light reaches your eye and how small a detail the telescope can separate under good conditions. For beginners, aperture is often the first specification that looks impressive. It matters, but only when the rest of the telescope can support it.
The dark-adapted eye has a pupil about 7 mm wide. A 70 mm refractor collects about 100 times as much light as that, and a 130 mm reflector about 350 times as much. A 200 mm telescope gathers far more light still, but it is also larger, heavier, and harder to mount well. If the mount shakes for 3 seconds every time you touch the focuser, that extra aperture will not feel very useful.
For a small budget, a practical range is often 70 mm to 130 mm for a beginner telescope, or 7x50 to 10x50 binoculars if you want the easiest start. A telescope in this size range can show the Moon in detail, the rings of Saturn, the moons of Jupiter, the phases of Venus, and many star clusters.
The mount matters more than many beginners expect
The mount holds the telescope steady and lets you aim it. A good mount makes observing easier than a better optical tube on a poor mount. This is one of the most common mistakes in beginner buying. Many inexpensive telescopes are sold with mounts that are too light for the instrument they carry. The result is vibration, awkward tracking, and a lot of time spent fighting the setup.
There are two broad kinds of mounts beginners meet first. An altazimuth mount moves up and down, left and right. It feels natural and is easy to learn. An equatorial mount is tilted to match Earth’s rotation, which helps with tracking the sky, but it takes more time to understand. For a first telescope, a stable altazimuth mount is usually the simplest choice.
If you can, test the mount in a shop or read detailed reviews from observers who actually use the telescope at night. Look for a tripod that does not wobble badly, slow smooth motion controls, and a design that holds position when you let go. A telescope with a smaller aperture and a steady mount will usually give a better first experience than a bigger scope on a flimsy tripod.
What kinds of beginner telescopes are worth looking at
There are three common beginner designs. Each has strengths.
- Refractors use lenses. Small refractors are easy to maintain and are good for the Moon, planets, and daytime viewing. Cheap very short refractors often have poor image quality, so choose carefully.
- Reflectors use mirrors. A Newtonian reflector often gives the best light gathering for the money. It is a strong choice if you want deep sky observing and do not mind occasional collimation, which is the alignment of the mirrors.
- Compound telescopes use both lenses and mirrors. They are compact, but the mount and optics usually cost more. For a beginner on a tight budget, they are often less practical than they first appear.
If the price is low enough to seem surprising, check the mount, the aperture, and the user reviews. Many entry-level telescopes are sold with high magnification numbers on the box, sometimes 300x or more. That number is usually a marketing number, not a useful one. On most nights, the atmosphere limits useful magnification long before the optics do. A 70 mm telescope often gives best views around 50x to 120x. A 130 mm telescope may handle 130x to 200x on steady nights.
What binoculars can do for astronomy
Binoculars are often the smartest first purchase. They are lighter than a telescope, faster to use, and useful for many non-astronomy tasks. A 7x50 or 10x50 pair is a classic beginner choice. The first number is magnification, the second is the diameter of each front lens in millimetres. A 10x50 binocular shows objects 10 times closer and gathers much more light than your eyes alone.
Binoculars are excellent for the Moon, the Pleiades, the Hyades, the Andromeda Galaxy, bright star clusters, and sweeping along the Milky Way. They are also helpful for learning the sky. Because the field of view is wide, it is easier to match what you see with star charts or a sky app. Many observers keep binoculars even after they buy a telescope.
Binoculars have limits. They will not show the rings of Saturn as rings, and Jupiter will be a bright point with perhaps a few nearby moons if the view is steady. They also become tiring to hold by hand at higher magnification. A simple tripod adapter can help, but for many people hand-held 7x50 binoculars are the sweet spot.
Pick your first targets carefully
Your first targets should be bright, easy to find, and rewarding at low power. The Moon is the best start. It is bright enough for any telescope or binoculars, and its changing phases reveal different details every night. Near first quarter, the shadows along the terminator, the line between day and night on the Moon, make craters and mountains stand out well.
After the Moon, try Jupiter and its moons, Saturn, Venus, and Mars when it is well placed in the sky. Jupiter’s four largest moons can be seen with small optics. Saturn’s rings are visible in even modest telescopes, though the view is much smaller than in photographs. Venus shows phases. Mars is harder and depends a lot on when it is near Earth.
For deep sky observing, start with open clusters such as the Pleiades, the Beehive Cluster, and the Double Cluster. These are brighter and easier than most nebulae. The Orion Nebula is another good target when it is in season. It appears as a misty patch in binoculars or a small telescope and rewards dark skies. The Andromeda Galaxy can also be seen from many locations, though it looks like a soft oval glow rather than a spiral photo.
Give yourself time to learn the sky. A telescope is easier to enjoy when you already know a few bright stars and constellations. A planisphere, a sky app, or a printed star chart can help. So can a red flashlight and a notebook. Writing down what you saw makes patterns easier to remember.
What to buy on a small budget
If your budget is limited, spend first on stability and ease of use. A modest telescope on a solid mount is a better choice than a large tube on a weak tripod. If the budget is very tight, binoculars may give the best value. Many new observers find that a good pair of 10x50 binoculars is enough to keep them busy for months.
Here is a simple way to think about the decision. If you want the Moon, planets, and easy setup, choose binoculars or a small refractor on a stable mount. If you want the deepest possible views per euro, a modest Newtonian reflector can be excellent, provided the mount is good. If you want portability and are willing to pay more, a compact compound telescope may suit you later.
A first telescope does not need to do everything. It needs to show something well and make you want to go outside again next week. That is a realistic goal, and a good one.
This kind of practical observing fits well with the Astronomy & Astrophysics Masterclass, where students build the habits needed to read the sky and connect it with basic physics. See the curriculum for the topics covered.